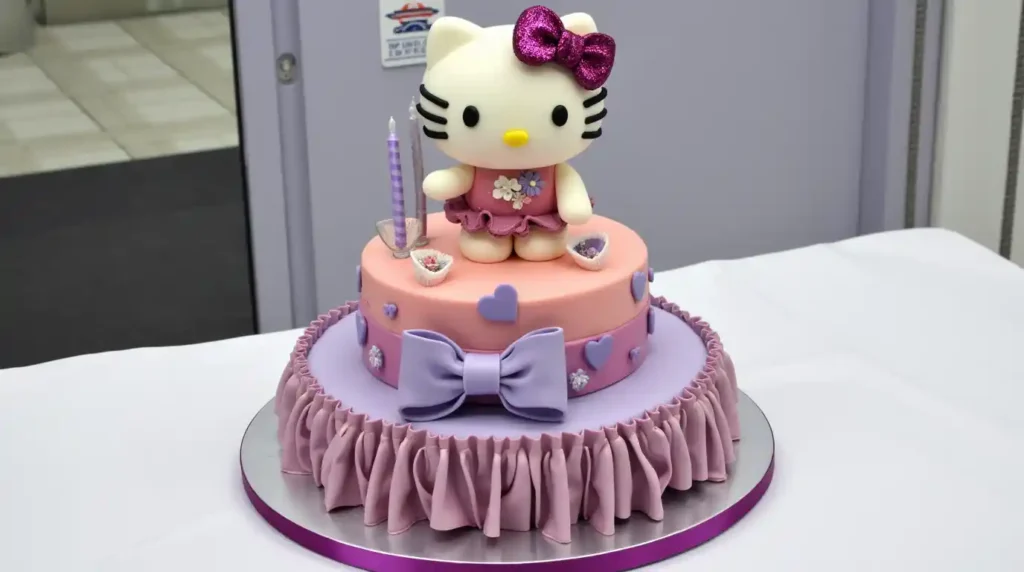
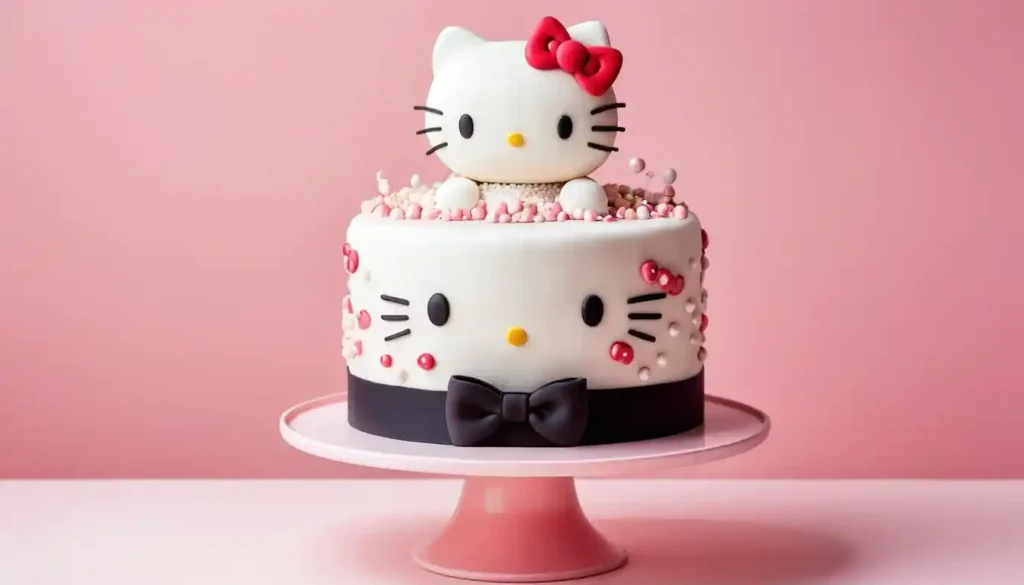
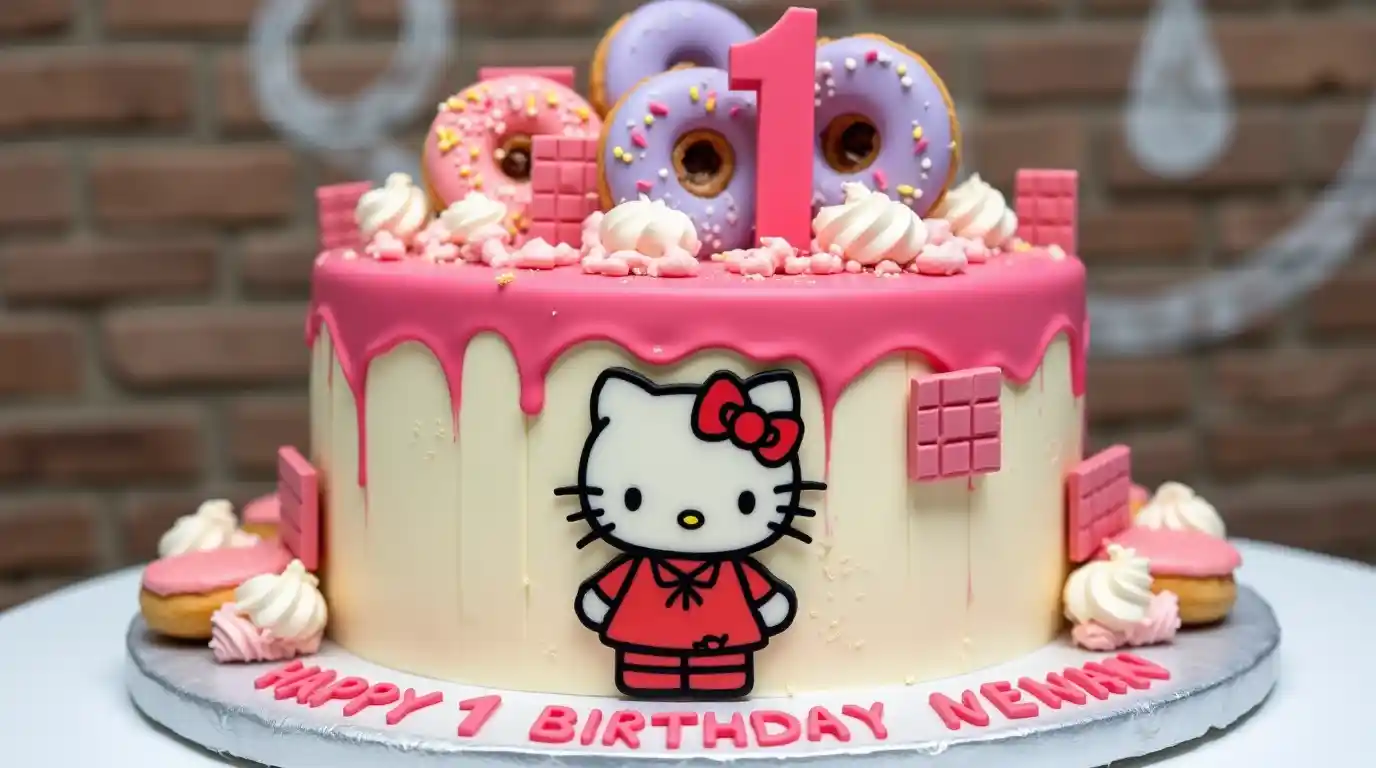
Have you ever wished to create a dessert that’s as charming as it is delicious? Today, I’m excited to share my step-by-step Hello Kitty Cake recipe that brings a touch of Sanrio magic right into your kitchen. This DIY Hello Kitty cake isn’t just a fun project—it’s a perfect centerpiece for birthdays or any celebration where you want to impress with a dash of kawaii flair. With clear instructions and handy baking tips, you’ll soon be crafting a cute, delectable cake that feels uniquely yours. Let’s dive in and start this delightful culinary adventure together!
Table of Contents
Table of Contents

Hello Kitty Cake
- Total Time: 1 hour 15 minutes
- Yield: 8 servings 1x
Description
Delight your guests with this charming Hello Kitty Birthday Cake, featuring moist pink and white layers, smooth Italian meringue frosting, and adorable Hello Kitty decorations.
Ingredients
For the Cake:
- 2 1/3 cups cake flour
- 1 1/2 teaspoons baking powder
- 1/2 teaspoon baking soda
- 1/2 teaspoon salt
- 1 tablespoon skim milk powder
- 1 cup unsalted butter (room temperature)
- 1 3/4 cups granulated sugar
- 2 large eggs
- 4 large egg whites
- 1/2 cup buttermilk
- 1 teaspoon vanilla extract
- 1 1/2 cups fresh strawberries (finely chopped)
- Pink food coloring
For the Buttercream Frosting:
- 1 cup unsalted butter (softened)
- 4 cups powdered sugar
- 2 tablespoons strawberry jam
- 1 teaspoon vanilla extract
- Milk (as needed for consistency)
For Decoration:
- Black licorice or black fondant for whiskers
- Red fondant for the bow
- Yellow food coloring for the nose
Instructions
- Preheat with care – Set your oven to 350°F (175°C) so it’s warm and ready before you bake.
- Sift for silkiness – Whisk together flour, baking powder, and a pinch of salt; sifting ensures a lump-free, airy crumb.
- Mix gently – Combine eggs, room-temperature milk, and melted butter, then fold in dry ingredients just until blended—no overmixing!
- Smooth like velvet – Use a hand mixer on low speed for a uniform, streak-free batter that’s light and dreamy.
- Prep pans properly – Grease and flour your cake pans so your layers release with ease.
- Bake evenly – 25–30 minutes at 350°F (175°C); rotate pans halfway if your oven has hot spots.
- Toothpick test = truth – When it comes out clean, your cakes are perfectly done.
- Cool completely – Let layers rest 10 minutes in pans, then transfer to a wire rack to cool fully before assembling.
- Level with love – Trim domed tops with a serrated knife for flat, stackable layers.
- Layer generously – Spread buttercream, jam, or filling between each layer for flavor and stability.
- Room-temp ingredients matter – They blend smoother and create a lighter, fluffier cake.
- Keep the oven closed – Avoid peeking! Every opening drops the temperature and risks uneven baking.
- Mix just until combined – Overmixing = dense cake. Undermixing = lumps. Just right = perfection.
- Measure with precision – Use proper measuring cups and spoons—baking is science with sweetness!
- Serve with joy – Your DIY Hello Kitty cake will be as delicious as it is delightful—pure edible magic!
- Prep Time: 30 minutes
- Cook Time: 45 minutes
- Category: Dessert
- Cuisine: American
Nutrition
- Calories: 350 kcal
- Fat: 18g
- Carbohydrates: 45g
- Protein: 4g
Keywords: birthday cake, cake decorating, Hello Kitty cake, homemade cake
RELATED : How To Make A Perfect Heart Cake For Any Occasion

Essential Ingredients and Tools
Before you start baking your adorable Hello Kitty cake, it’s important to gather all the right ingredients and tools. This step not only sets the stage for a smooth baking experience but also ensures your DIY Hello Kitty cake turns out both cute and delicious!
Ingredients You’ll Need:
- Cake Batter: Choose your favorite flavor as the base for your cake layers.
- Fondant: Perfect for crafting the signature Hello Kitty features. White fondant is ideal for a clean look.
- Buttercream: Use this for a rich, creamy filling and a smooth frosting finish.
- Edible Decorations: Enhance the kawaii aesthetic with food coloring, themed sprinkles, and a touch of edible glitter.
Essential Tools:
- Mixing Bowls and Whisk: For blending your ingredients until the batter is smooth.
- Cake Pans: Select two or three pans, depending on how many layers you want to bake.
- Icing Spatula and Piping Bags: These help you achieve a professional finish when applying buttercream and fondant details.
- Rolling Pin: A must-have for evenly rolling out your fondant before you shape the iconic Hello Kitty design.
Quick Tips for Success:
- Pre-Check Your Ingredients: Ensure everything is at hand before starting, which minimizes interruptions.
- Preheat Your Oven: Set your oven to the correct temperature to guarantee even baking.
- Prepare Your Pans: Grease them well or line with parchment paper to help release your cake effortlessly.
By using quality ingredients and the right tools, you’re setting yourself up for a fun, stress-free baking journey. Whether you’re a beginner or a seasoned baker, these essential items will help you create a stunning Hello Kitty cake that not only tastes great but also dazzles with its charm.

Step-by-Step Hello Kitty Cake Recipe Baking Process
Preparing the Cake Batter
Start by preheating your oven to 350°F (175°C) so it’s ready when you are. For a smooth, even batter, follow these steps:
- Sift Dry Ingredients: Combine flour, baking powder, and a pinch of salt to remove any lumps.
- Mix Wet Ingredients Gradually: In a separate bowl, whisk eggs, milk, and melted butter. Slowly incorporate the dry ingredients into the wet mixture to avoid overmixing, which can lead to a dense cake.
- Achieve a Velvety Texture: Use a hand mixer on low speed to blend the ingredients until the batter is uniform and free of streaks.
Baking the Cake Layers
Pour your well-mixed batter into greased and floured cake pans. Ensure even cooking by:
- Setting the Right Temperature: Bake at 350°F (175°C) for about 25–30 minutes.
- Checking Doneness: Insert a toothpick in the center of the cake—if it comes out clean, your cake layers are done.
- Rotating Pans: If your oven has hot spots, rotate the pans halfway through baking to ensure even cooking.
Assembling and Cooling
Once your cake layers are baked, it’s time to assemble:
- Cool Completely: Allow the cake layers to cool in the pans for 10 minutes, then transfer them to a wire rack until fully cooled.
- Level the Layers: Use a serrated knife to trim any domed tops for a flat surface, ensuring even stacking.
- Layer with Care: Spread a generous layer of buttercream or your chosen filling between each cake layer before stacking them.
Baking Tips and Tricks
Here are some insider tips to help you achieve consistent, professional results:
- Avoid Overmixing: Mix ingredients just until combined to keep the cake light and fluffy.
- Measure Accurately: Use measuring cups and spoons for precision.
- Room Temperature Ingredients: Let eggs and milk come to room temperature to ensure a smooth batter.
- Minimize Oven Openings: Try not to open the oven frequently to maintain a steady baking temperature.
Incorporating these steps and tips will ensure that your DIY Hello Kitty cake turns out as beautifully as it looks—and as delicious as it should be!
Decorating Your Hello Kitty Cake
Designing the Hello Kitty Face:
Bring the iconic Hello Kitty face to life with these simple steps:
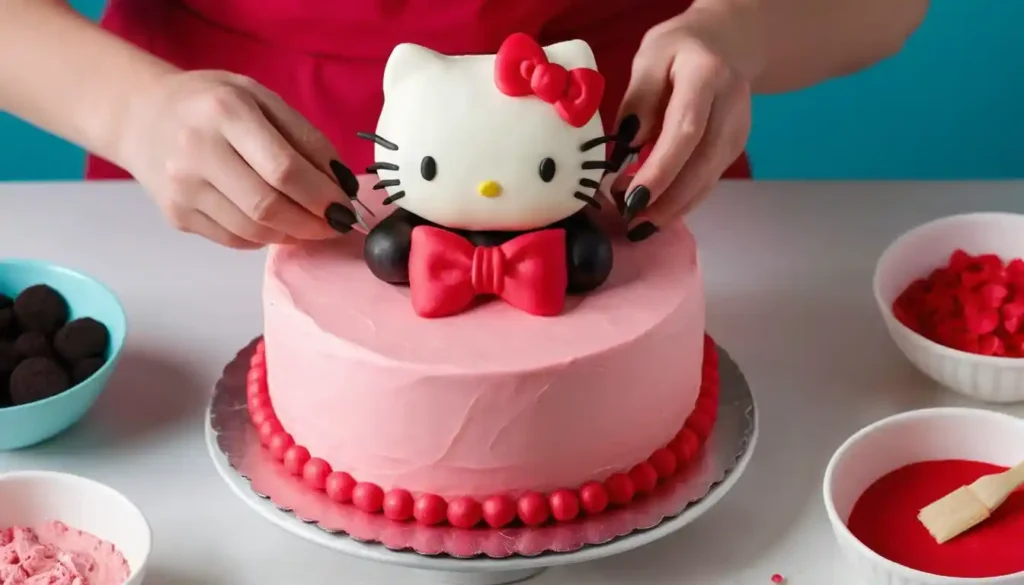
- Shape the Base: Roll out white fondant or prepare a smooth buttercream layer to form a perfect, round cake surface.
- Add the Signature Features: Use colored fondant to cut out and shape Hello Kitty’s eyes, whiskers, and bow. If you prefer buttercream, pipe these details carefully using a fine tip.
- Refine the Details: Ensure edges are neat and features are symmetrically placed for that unmistakable Hello Kitty look.
Cake Decorating Techniques:
Enhance your cake decorating skills with these expert techniques:
- Smooth Icing: Use an offset spatula to apply a thin, even layer of buttercream for a flawless finish.
- Edible Images and Stencils: Enhance your design by applying edible images or using stencils to outline Hello Kitty details.
- Piping Bags: Utilize piping bags with different nozzles to add intricate borders and details, ensuring every element stands out.
Achieving a Kawaii Aesthetic:
Infuse your cake with playful charm that reflects the Sanrio brand:
- Color Palette: Embrace soft pastels and pops of vibrant color that match Hello Kitty’s iconic look.
- Themed Accents: Incorporate fun elements like mini bows, hearts, and stars using edible glitter or sprinkles.
- Creative Layouts: Experiment with layered decorations and asymmetrical designs to give your cake a dynamic, eye-catching appeal.
ANOTHER IDEAS FOR MAKE CAKES : Best Barbie Cake Inspiration for Birthdays and Special Celebrations
Pro Tips for Beginners:
Use these handy tips to achieve a polished, professional look.
- Plan Ahead: Sketch your design on paper before starting to guide your decoration process.
- Test Your Techniques: Practice piping and fondant shaping on a small surface first to build confidence.
- Layer with Care: Apply decorations gradually to avoid overloading the cake, ensuring a balanced and appealing look.
- Stay Patient and Enjoy: Take your time—each step is part of the creative journey to make your Hello Kitty cake truly special.

Serving Suggestions and Final Touches
Presentation and Plating Ideas:
Make your Hello Kitty cake the star of any celebration with creative presentation ideas:
- Themed Display: Place your cake on a decorative platter or cake stand that complements its cute design.
- Edible Accents: Surround the cake with mini bows, fresh flowers, or themed cupcake toppers for an extra pop of charm.
- Interactive Setup: Consider a cake table decorated with Hello Kitty memorabilia or vibrant tablecloths that tie into the Sanrio aesthetic.
Pairing and Serving Tips:
Enhance your cake experience with thoughtful pairings and serving suggestions:
- Beverage Pairings: Serve with a light, fruity punch or a refreshing iced tea that balances the sweetness of the cake.
- Cutting and Serving: Use a warm knife dipped in hot water to slice smooth pieces, and pair each serving with a dollop of whipped cream or a side of fresh fruit.
- Celebration Vibe: Encourage guests to enjoy the cake as part of a festive spread, accompanied by themed snacks or a complementary dessert.
Storage and Longevity:
Keep your Hello Kitty cake as delightful as the day you made it by following these tips:
- Proper Storage: Cover the cake with plastic wrap or place it in an airtight container to maintain freshness.
- Refrigeration: Store in the fridge if you’re not serving it immediately, but allow it to come to room temperature before serving to restore its flavor and texture.
- Longevity Tips: For cakes with delicate decorations, consider storing them separately and assembling right before the event to preserve the design.
Additional Customization Ideas:
Let your creativity shine by experimenting with extra touches:
- Seasonal Themes: Adapt the cake design for different holidays—think pastel hues for spring or a spookier twist for Halloween.
- Personalized Details: Add custom messages, names, or even edible images to make each cake uniquely yours.
- Mix and Match: Encourage creativity by blending different decorative techniques, from piping intricate borders to incorporating new edible textures like powdered sugar dusting.
RELATED: Chocolate Chip Cheesecake – Barbie Cake
Frequently Asked Questions (FAQ)
1. What is a Hello Kitty cake?
A Hello Kitty cake is a charming, themed dessert inspired by the iconic Sanrio character. It features a design that captures Hello Kitty’s signature look using fondant or buttercream, making it a delightful centerpiece for birthdays and special events.
2. Is this recipe beginner-friendly?
Absolutely! This DIY Hello Kitty cake recipe is designed with clear, step-by-step instructions and helpful tips, ensuring even beginners can create a stunning, professional-looking cake with ease.
3. Can I customize the design of my cake?
Yes, you can easily personalize your cake! Consider adding custom messages, experimenting with different color schemes, or incorporating seasonal accents to make your Hello Kitty cake uniquely yours.
4. What essential tools and ingredients do I need?
You’ll need basic baking supplies such as cake batter ingredients, fondant or buttercream for decorating, and key tools like mixing bowls, cake pans, an offset spatula, and piping bags. These ensure you achieve smooth icing and crisp details throughout the design.
5. How should I store my Hello Kitty cake for best freshness?
For optimal freshness, cover the cake with plastic wrap or store it in an airtight container. If refrigerated, allow it to return to room temperature before serving to restore its flavor and texture while preserving the decorative details.
Note Chef’s
As we wrap up this guide on creating your own Hello Kitty cake, I hope you’re feeling inspired to embark on this delightful baking adventure. Remember, the joy of baking lies in the creativity and personal touches you bring to your creations. Don’t hesitate to experiment with different designs and flavors to make the cake truly your own.
I’d love to hear about your baking experiences and any unique twists you added to your Hello Kitty cake. Please share your thoughts, questions, or suggestions in the comments below. Let’s keep the conversation going and inspire each other in our baking journeys!
Last Updated on December 27, 2025 by Sophy


