Table of Contents
Why Learning How to Cut Picanha is a Game-Changer for Steak Lovers
There’s something undeniably special about a perfectly cooked steak—the crisp, golden sear, the juicy, tender interior, and the rich, beefy flavor that lingers with every bite. But not all steaks are created equal. Enter picanha, the crown jewel of Brazilian barbecue and a cut that’s been winning hearts (and taste buds) around the world. Known for its buttery texture and signature fat cap that melts into the meat as it cooks, picanha is a steak lover’s dream.
However, there’s a catch: to truly unlock its potential, you need to know how to cut picanha the right way. Whether you’re planning a backyard churrasco or simply want to impress your dinner guests, mastering this skill is the key to transforming a good meal into an extraordinary one.
In this guide, we’ll walk you through everything you need to know about cutting picanha—from selecting the perfect piece of meat to slicing it into steaks that are ready for the grill. By the end, you’ll not only understand why this cut is so beloved but also feel confident enough to prepare it like a pro. So, grab your knife, and let’s dive into the art of cutting picanha!
Key Takeaways
- Understand the location and characteristics of the picanha cut for optimal cutting
- Identify the fat cap and muscle grain to guide your cutting direction
- Utilize the right tools, such as a sharp knife and cutting board, for precise slicing
- Learn the proper technique for slicing against the grain to enhance tenderness
- Discover storage and handling tips to maintain the quality of your cut picanha
Understanding the Picanha Cut: Location and Characteristics
The picanha cut, also known as the picania or rump cap, is a prized beef cut from the cow’s upper rump. It’s known for its fat cap and muscle grain. These features make it taste great and feel tender.
Identifying the Fat Cap and Muscle Grain
The picanha cut has a thick, juicy fat cap on top. This fat cap adds a rich, buttery taste. It also keeps the meat moist during cooking.
The muscle grain runs across the cut. When you slice it against the grain, you get tender meat. This makes the picanha’s flavor stand out.

Why Proper Cutting Matters for Flavor
Cutting the picanha against the grain is key to its flavor. Slicing it this way makes the meat tender and easy to chew. It lets the picanha’s natural flavors shine.
Essential Tools for Cutting Picanha
- A sharp, high-quality slicing knife or carving knife
- A cutting board with a juice groove to catch any drippings
- A meat fork or tongs to handle the picanha safely
- A ruler or guide to ensure consistent slice thickness
Knowing how to cut the picanha right lets you enjoy its amazing taste and texture. It’s all about understanding its location, characteristics, and cutting techniques.
Preparing Your Picanha for Cutting
Before you can slice your picanha perfectly, you need to prepare the meat right. Follow these steps for a successful how to cut picanha experience.
First, thaw your picana meat in the fridge overnight if it’s frozen. This gradual thawing process helps maintain the meat’s juiciness and tenderness. It’s the first step to a delicious cut and cook.
After thawing, check your picanha for any fat or silver skin. Trimming these off improves the meat’s look and feel. A clean picanha shows off the meat’s natural beauty.
Next, make sure the meat is at room temperature. This softens the muscle fibers, making it easier to slice. It’s critical for a smooth cutting experience.
Finally, season your picanha before or after cutting, depending on your cooking method. A simple salt and pepper mix is excellent, or try your favorite spices for extra flavor.
With these steps done, you’re set to cut your picanha to perfection. Next, we’ll look at the best way to slice this favorite cut of meat.
The Perfect Technique for Slicing Picanha Cut
Learning how to cut the picanha cut is key to enjoying its full flavor. It’s all about cutting in the right direction and adjusting your technique.
Direction of the Cut Against the Grain
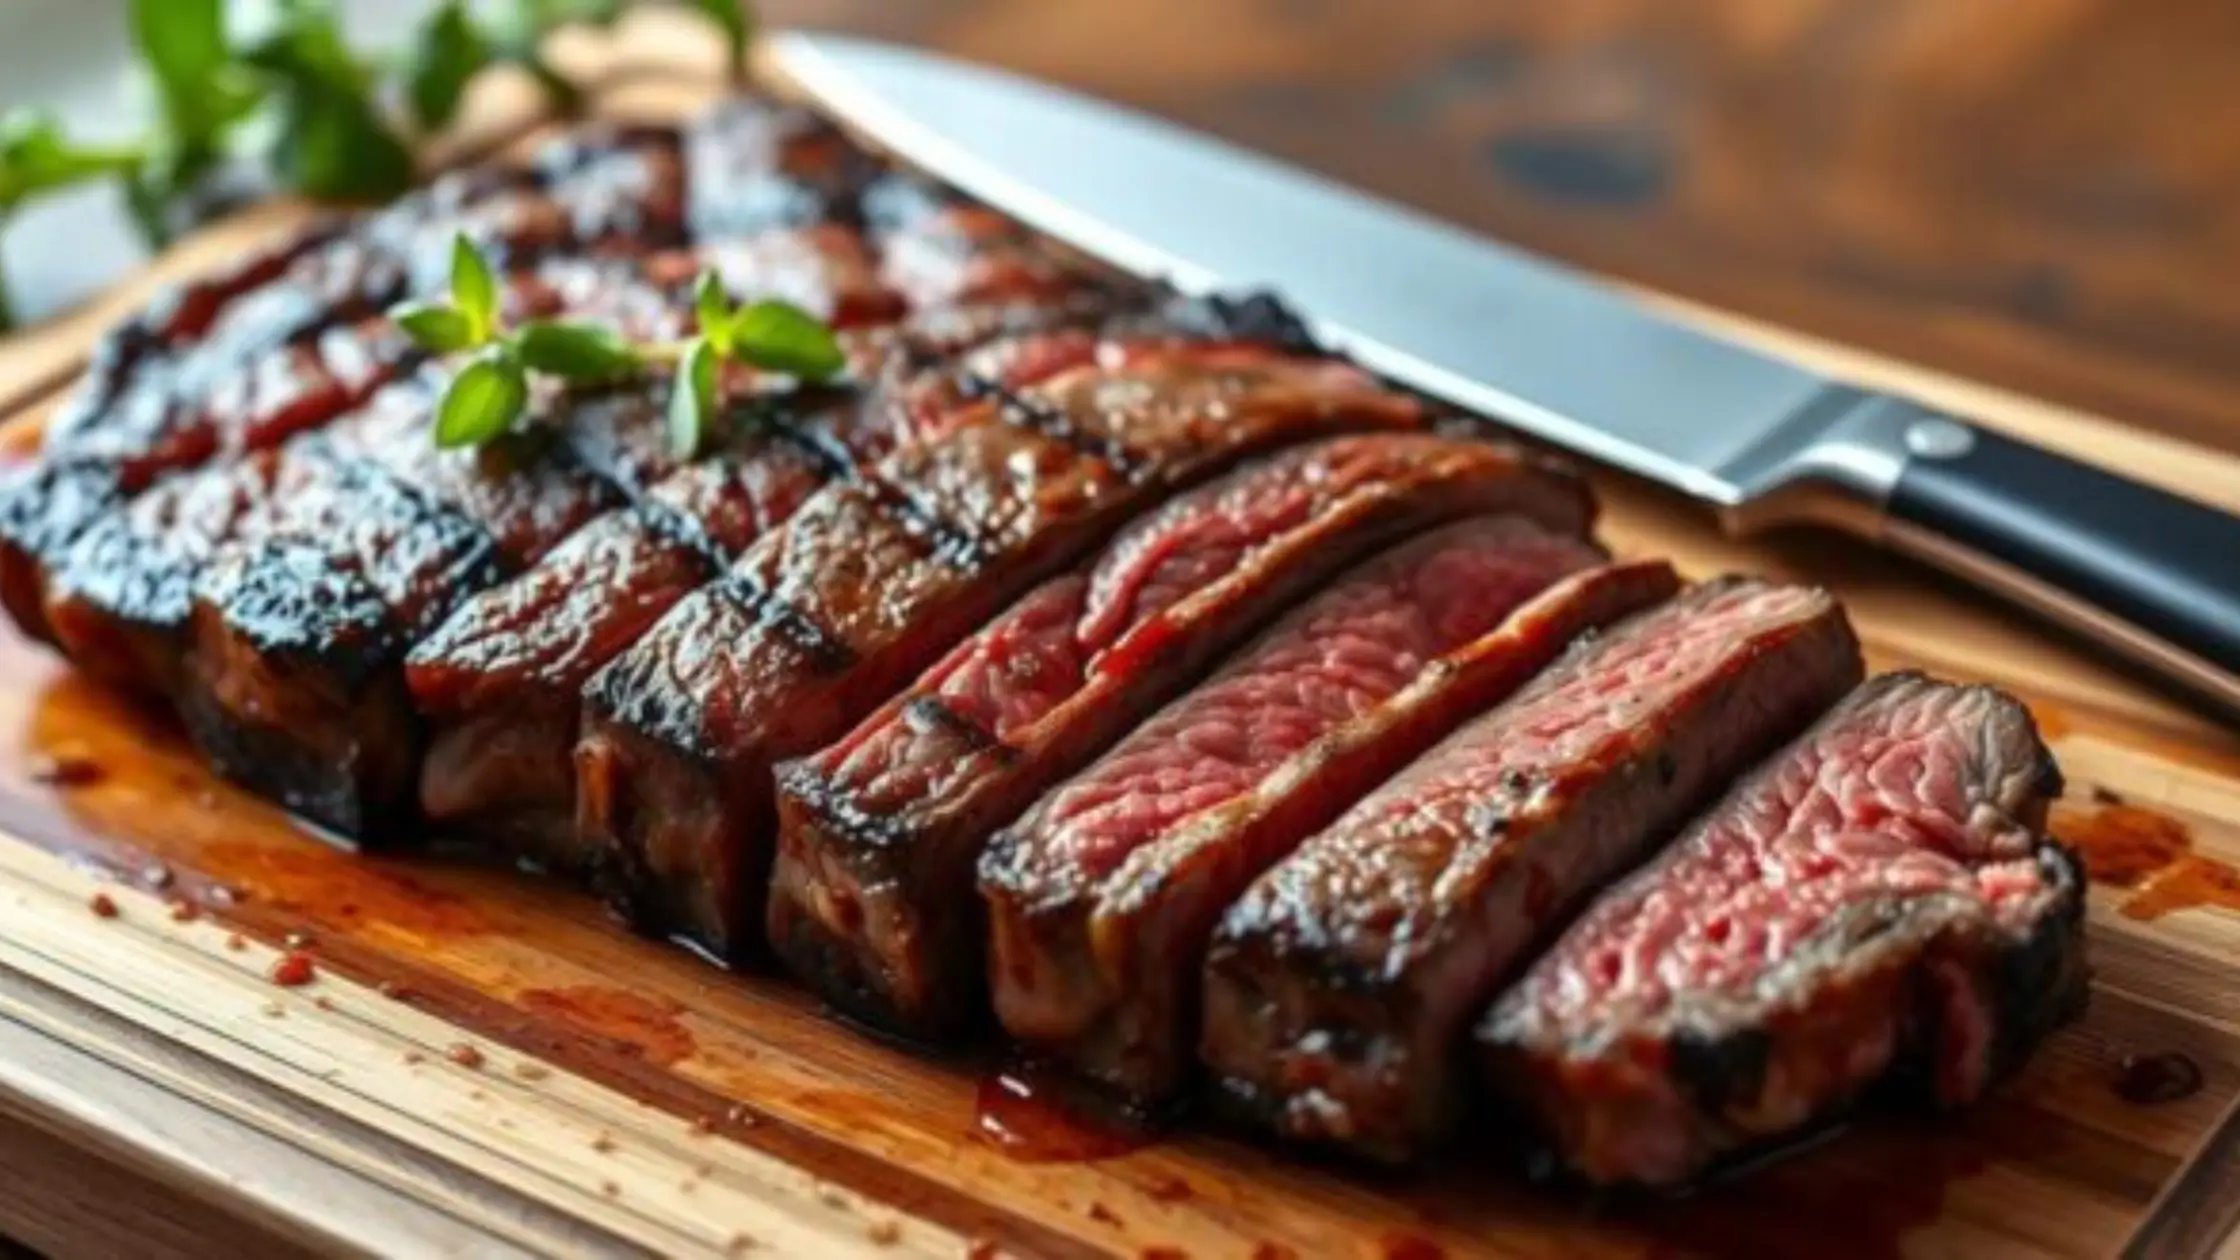
When cutting the picanha cut, it’s important to cut against the grain. This makes the meat tender and juicy. The grain is the muscle fibers in the meat. Cutting across these fibers makes the meat tender and soft.
Thickness and Portion Control
- For the best results, slice the picanha cut into thin pieces, about 1/4 to 1/2 inch thick.
- This thickness helps the meat cook quickly and evenly, whether you’re grilling, searing, or roasting.
- Remember, the picanha cut is rich and flavorful. A 3-4 ounce serving is usually enough to satisfy your taste buds.
Common Cutting Mistakes to Avoid
- Cutting with the grain makes the meat tough and chewy.
- Uneven thickness can cause some pieces to overcook while others are undercooked.
- Don’t trim too much of the fat cap, as it adds flavor and juiciness to the picanha cut.
By mastering these techniques and avoiding common mistakes, you’ll be able to slice the picanha cut perfectly. This way, you can fully enjoy its delicious flavors.
Storage and Handling Tips After Cutting
Proper storage and handling of your freshly cut picanha cut or picana meat is key. It helps keep its quality and flavor. Follow these tips to keep your meat fresh and ready for delicious meals.
Refrigeration and Freezing
Keep your picanha in the fridge at 40°F (4°C) or below for immediate use. It stays fresh for 3-5 days. For extended storage, securely wrap it in plastic wrap or freeze it in an airtight container.
Frozen picanha lasts up to 6 months.
Preventing Freezer Burn
- Wrap the picanha tightly in plastic wrap or heavy-duty aluminum foil to create an airtight seal.
- Use a vacuum sealer to remove excess air and create a tight seal around the picanha.
- Place the wrapped picanha in a resealable freezer bag, squeezing out as much air as possible before sealing.
Thawing Frozen Picanha
When thawing frozen picanha, put it in the fridge. It takes 24-48 hours, depending on size. Avoid thawing at room temperature to prevent the growth of bacteria.
Identifying Spoilage
Check for signs of spoilage like a sour smell, slimy texture, or colour change. If you see these, throw it away. Always be cautious when unsure.
Following these tips, your picanha cut or picana meat stays fresh and flavorful. It’s ready to become a tasty culinary masterpiece.
Cooking Methods for Cut Picanha
Learning to cook cut picanha is key to enjoying its delicious taste. Whether you’re an expert griller or new to cooking, the right methods can make this cut a true delight.
Grilling Picanha to Perfection
Grilling is a top choice for cooking picanha. It sears the fat cap and adds a smoky flavor. Start with a simple salt and pepper rub or try your favorite spices.
Keep an eye on the grill to get a crispy outside and a juicy inside. Adjust the heat as needed.
Roasting for Tender, Succulent Picanha
Roasting is a low-effort way to cook picanha. Preheat your oven to 400°F (200°C). Sear the fat cap on the stovetop before roasting.
Roast until it reaches 135°F (57°C) for medium-rare. This ensures a tender and juicy picanha.
Pan-Searing for a Flavorful Crust
Pan-searing offers a controlled cooking environment. Use a heavy skillet or cast-iron pan. Sear the fat cap first to get a tasty crust.
Finish cooking in the oven for a perfectly cooked interior. This method ensures a flavorful crust and a juicy center.
The thickness of your picanha affects cooking time and texture. Try different cuts to find your favourite balance of flavour and tenderness.
“The secret to cooking picanha lies in respecting the natural grain of the meat and allowing the bold, beefy flavors to shine through.”
Serving and Presentation Ideas
There are many ways to serve your perfectly cut picanha. Whether it’s a backyard barbecue or a fancy dinner, how you present it matters a lot. The presentation of this picanha cut can make your meal even better.
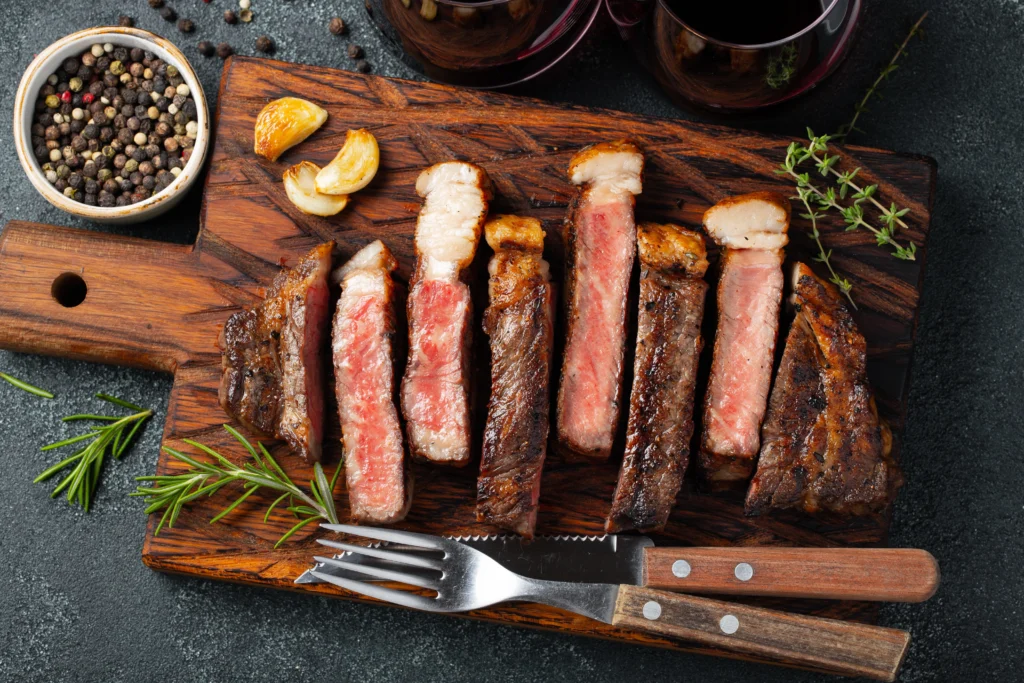
Begin by cutting the picanha meat against the grain. This makes it thin and tender. Then, place these strips on a platter or cutting board. This lets the meat’s marbling and red color stand out.
- Top the picanha cut with fresh herbs like chimichurri. This adds flavor and looks great.
- Pair the picanha meat with grilled veggies like bell peppers, zucchini, and onions. This makes the dish look and taste amazing.
- For a fancy meal, serve the picanha cut on rice or mashed potatoes. This adds texture and flavor.
| Serving Suggestion | Complements | Presentation Tip |
| Sliced Picanha Cut | Chimichurri, Roasted Veggies | Arrange on a Platter |
| Picanha Steak Bites | Garlic Butter, Crispy Onions | Skewered or Arranged on a Board |
| Picanha Stuffed Potatoes | Sour Cream, Chives | Serve in a Hollowed-out Potato Skin |
The secret to a great picanha cut presentation is to highlight the meat’s natural beauty. With a little creativity and the right flavors, your picanha meat will impress everyone. They’ll all want more.
Conclusion
Learning how to cut the picanha cut is key to enjoying its full taste and texture. Knowing where and how to cut this special Brazilian beef is crucial. It helps you make your picanha dishes even better.
When cutting picanha, always slice against the grain. This ensures the meat is tender and easy to chew. Also, keep the slices the right thickness for your cooking method. Try different ways of cutting and cooking to find what you like best.
This guide is for both experienced cooks and beginners. It teaches you how to handle how to cut picanha with ease. Start experimenting, share your skills with others, and enjoy the process. The more you do it, the better you’ll get.
FAQ
What is picanha?
Picanha, also known as pichana or coulotte, is a prized beef cut from Brazil. It’s famous for its fat cap and unique taste.
Where is the Picanha cut located on the cow?
The picanha comes from the top of the rump, just below the backbone. It’s a tender and flavorful piece of meat.
Why is proper cutting technique important for picanha?
Cutting picanha against the grain is key for tenderness. Slicing it wrong can make it tough and chewy.
What are the essential tools for cutting picanha?
You’ll need a sharp knife, a cutting board, and a meat slicer for even slices. These tools are crucial.
How should picanha be seasoned and prepared before cutting?
Season with salt, pepper, and spices before or after cutting, depending on your cooking. Make sure the meat is at the right temperature.
What is the ideal thickness for slicing picanha?
Slice picanha between 1/2 to 3/4 inch thick. This ensures tenderness and juiciness when cooked.
How should picanha be stored after cutting?
Store cut picanha in an airtight container or wrap it tightly. Refrigerate for 3-5 days or freeze for up to 6 months.
What are some popular cooking methods for picanha?
Grill, roast, or pan-sear picanha for the best results. Its fat cap and flavor are perfect for high-heat cooking.

How can cut picanha be served and presented?
Serve picanha sliced, diced, or as a whole roast. It goes well with chimichurri sauce, roasted veggies, and crispy onions.


