Table of Contents
If you’re looking for a quick and delicious dessert that’s perfect for beginners, this easy fudge recipe is just what you need! Fudge is a classic treat that combines rich, creamy chocolate with a smooth, melt-in-your-mouth texture, and the best part is that making it at home doesn’t have to be complicated. Whether you’re preparing it for a family gathering, a holiday celebration, or simply indulging your sweet tooth, this simple fudge recipe is sure to impress. With just a few basic ingredients and minimal effort, you’ll be able to create a decadent homemade fudge that’s perfect for any occasion. Let’s dive in and learn how to make this easy fudge recipe from scratch!
RELATED : You’ll Fall In Love With This Cookie Monster Ice Cream
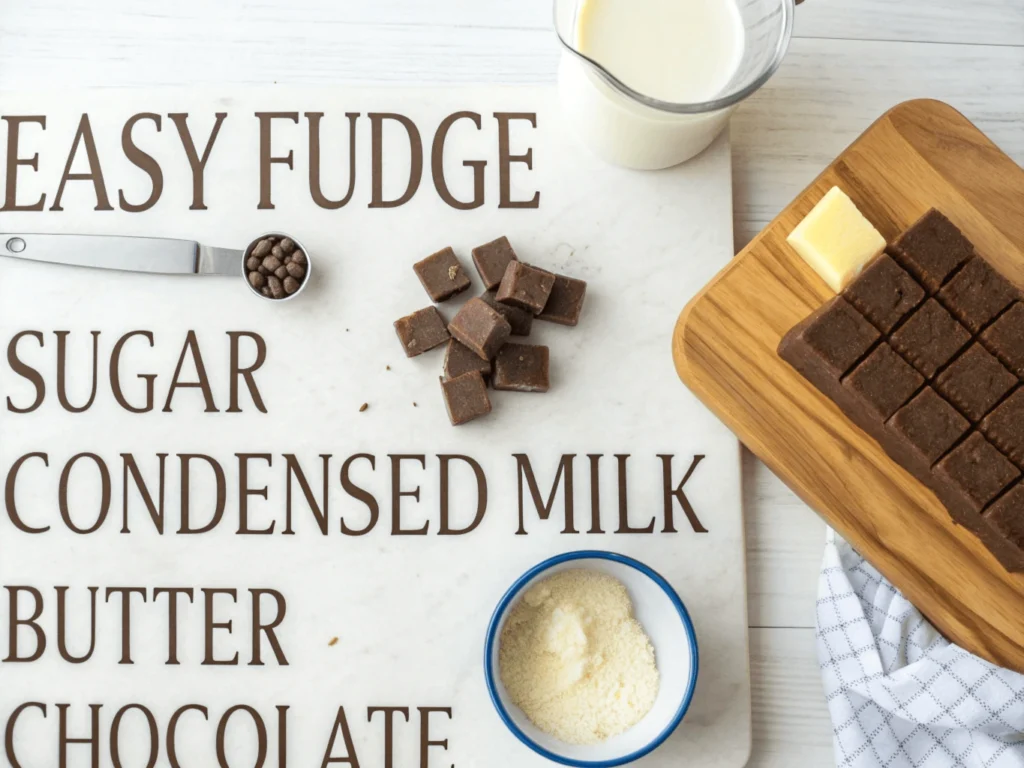
What You Need to Make Easy Fudge

Before diving into this deliciously simple recipe, gather all your ingredients and equipment. Having everything ready will make the fudge-making process smooth and enjoyable.
Essential Ingredients:
| Ingredient | Quantity | Purpose |
|---|---|---|
| Semi-sweet chocolate chips or chopped chocolate bars | 2 bags (12 oz each) | Provides the rich, chocolatey foundation. Use high-quality chocolate for the best results. |
| Sweetened condensed milk | 1 can (14 oz) | Acts as both a sweetener and binding agent, creating the perfect fudgy texture. |
| Unsalted butter | 4 tablespoons | Adds smoothness and a silky mouthfeel to the fudge. |
| Pure vanilla extract | 1 tablespoon | Enhances the chocolate flavor and adds depth to the fudge. |
| Sea salt (optional) | A pinch | Balances the sweetness and elevates the overall taste. |
Required Kitchen Tools:
You’ll need a large microwave-safe glass or ceramic mixing bowl for melting the chocolate. If you prefer the stovetop method, a medium-sized heavy-bottomed saucepan works well. A sturdy rubber spatula or wooden spoon is essential for stirring and scraping the sides of your bowl or pan. You’ll also want an 8-inch or 9-inch square baking pan, lined with parchment paper for easy removal. Keep measuring spoons handy for precise portions of vanilla and butter. A sharp knife will help achieve clean cuts when portioning the finished fudge.
Additional Optional Tools:
Consider having an offset spatula for smoothing the top of your fudge beautifully. A candy thermometer can be helpful but isn’t strictly necessary for this easy recipe. If you plan to add nuts or other mix-ins, have a measuring cup ready.
Step 1 – Prepare Your Ingredients
Success in fudge-making starts with proper preparation. Taking time to carefully measure and prepare your ingredients ensures a smooth cooking process and delicious results.
Begin by measuring your ingredients precisely. You’ll want exactly 24 ounces of chocolate (either chips or chopped bars), one 14-ounce can of sweetened condensed milk, 4 tablespoons of unsalted butter cut into small cubes, and 1 tablespoon of pure vanilla extract. Having everything pre-measured prevents scrambling mid-recipe and helps achieve consistent results.
The quality of the chocolate you use greatly impacts the final result. Opt for premium chocolate brands like Ghirardelli, Lindt, or Guittard rather than basic baking chips. Higher-quality chocolate contains more cocoa butter, which contributes to a smoother texture and richer taste. Dark chocolate with 50-60% cocoa content works best for traditional fudge, offering the perfect balance of sweetness and chocolate intensity.
For those interested in creative variations, consider these delicious add-ins: Toasted nuts add wonderful texture and depth – try 1 cup of chopped walnuts, pecans, or almonds, making sure they’re completely cool before adding. Mini marshmallows create a Rocky Road variation – use 1½ cups for the perfect ratio. Crushed cookie pieces like Oreos or graham crackers can add delightful crunch and flavor. Dried fruit such as cranberries or cherries offers a tangy contrast to the sweet chocolate. For a festive touch, consider crushed candy canes or colorful sprinkles as a topping.
Remember to have any add-ins ready before starting the melting process, as the fudge will begin to set fairly quickly once mixed. Toast nuts ahead of time if using them, and chop any larger ingredients into appropriate sizes for even distribution throughout the fudge.
Step 2 – Melting the Fudge Mixture
Melting the chocolate mixture is a critical step that requires attention to detail to achieve that perfectly smooth, glossy fudge base. There are two reliable methods to choose from, with the microwave being particularly beginner-friendly.
For the microwave method, combine your chocolate chips and butter in a large microwave-safe bowl. Heat in 30-second intervals at 50% power, stirring thoroughly between each interval. This gentle approach prevents the chocolate from burning or becoming grainy. Once the chocolate is about 75% melted, stir until the residual heat melts the remaining pieces. Add your sweetened condensed milk and continue heating in 15-second bursts if needed, stirring until completely smooth.
If you prefer the stovetop method, use a double boiler setup by placing a heat-safe bowl over a pot of simmering water. Make sure the bottom of the bowl doesn’t touch the water. Combine the chocolate and butter in the bowl, stirring constantly with a rubber spatula. The indirect heat provides better control and reduces the risk of scorching. Once melted, stir in the condensed milk until well combined.
Key tips to prevent overheating:
- Never let water come into contact with your chocolate – even a few drops can cause it to seize
- Keep stirring throughout the process to distribute heat evenly
- Remove from heat as soon as most of the chocolate is melted
- If using a microwave, always err on the side of less time – you can always heat more, but you can’t undo overheated chocolate
- Watch for signs of overheating: clumping, graininess, or a dull, matte appearance
- Maintain low, gentle heat throughout the process
Remember that properly melted chocolate should be smooth, glossy, and flow easily when stirred. If your mixture becomes too thick or grainy, you may have overheated it. In this case, try stirring in a few drops of warm heavy cream to rescue the texture.
Step 3 – Mixing and Preparing the Fudge Base
Once you have your perfectly melted chocolate mixture, it’s time to create that luxurious fudge base that will set up into rich, creamy squares. This step requires careful attention to achieve the ideal consistency.
Start by slowly pouring the sweetened condensed milk into your melted chocolate and butter mixture. Use a folding motion with your spatula, scraping the bottom and sides of the bowl to ensure thorough incorporation. The mixture will initially look streaky with ribbons of condensed milk running through it – this is normal. Continue stirring until the mixture becomes uniform and takes on a glossy sheen, typically about 2-3 minutes of constant stirring.
For the smoothest possible consistency, be vigilant about checking for lumps. If you spot any, press them gently against the side of the bowl with your spatula to break them up. The final texture should be similar to thick cake batter – fluid enough to pour but thick enough to hold its shape momentarily when drizzled from the spatula.
Now is the time to enhance your fudge with additional flavors and textures. Add the vanilla extract at this stage, stirring it in completely to enhance the chocolate’s depth. If you’re feeling creative, try these variations:
- For a marbled effect, reserve about 1/4 cup of the base mixture and stir in a different flavored extract (peppermint, orange, or almond work beautifully). Dollop this mixture over the main batch and swirl gently with a knife.
- When adding nuts, let the mixture cool slightly first (about 5 minutes) so they don’t sink to the bottom. Fold them in gently but thoroughly.
- Create layers by pouring half the mixture into your pan, adding a layer of caramel or peanut butter, then topping with the remaining fudge.
Test the readiness of your mixture by lifting the spatula – the fudge should fall in a thick ribbon and hold its shape for a moment before melting back into the bowl. If it’s too thin, it hasn’t cooled enough; if too thick, it may be starting to set and should be transferred to the pan immediately.
Step 4 – Setting the Fudge
The final steps of fudge-making are crucial for achieving that perfect, professional-looking result. Proper setting techniques ensure your fudge has the ideal texture and appearance.
As soon as your chocolate mixture is fully combined and smooth, pour it into your prepared baking pan. The pan should already be lined with parchment paper, with enough overhang on the sides to help lift the fudge out later. Pour the mixture slowly and evenly, starting from the center and working your way outward. This technique helps prevent air bubbles from forming and ensures even distribution.
Achieving a perfectly smooth top requires a bit of technique. Using an offset spatula or the back of a regular spatula, gently spread the mixture to reach all corners of the pan. Work quickly but carefully, as the fudge will begin to set as it cools. For an extra-smooth finish, tap the pan gently on the counter a few times to release any trapped air bubbles. If you’re adding any toppings like chopped nuts or sea salt, sprinkle them on now while the surface is still warm and tacky.
When it comes to setting your fudge, you have two options. For room temperature setting, place the pan in a cool, dry spot away from direct sunlight and let it stand for about 4 hours or overnight. This slower cooling process can result in a slightly creamier texture. For faster results, refrigerate the fudge for 2-3 hours until completely firm. If refrigerating, cover the pan loosely with plastic wrap to prevent any condensation from dripping onto the surface.
Remember that patience is key during the setting process. Trying to cut the fudge too early can result in messy, uneven pieces. You’ll know it’s ready when the surface is no longer glossy and feels firm to the touch. Once set, use the parchment paper handles to lift the fudge block out of the pan for easier cutting.
Step 5 – Easy Fudge Variations for Beginners
One of the best things about making fudge is how easy it is to customize with different flavors. For a fun twist, try adding peanut butter, caramel, or toffee to your base mixture. These additions not only enhance the taste but also give your fudge a unique texture and richness. If you’re in the holiday spirit, turning your fudge into a festive treat is simple! You can add colorful sprinkles, holiday-themed decorations, or even swirl in a bit of peppermint extract for a seasonal touch. For those looking for an even quicker option, no-bake fudge is a fantastic alternative. It eliminates the need for melting, and with just a little chilling time, you’ll have a perfectly set, creamy fudge ready to enjoy. These variations make it easy to elevate your fudge game and impress family and friends with minimal effort.
Step 6 – How to Cut and Serve Your Fudge
Once your fudge has fully set, it’s time to cut and serve this delicious treat! Start by removing the fudge from the baking dish, using the parchment paper to lift it out easily. To achieve clean, even squares, use a sharp knife and warm the blade slightly under hot water before cutting. Wipe the blade between each cut for perfect edges.
Storing leftover fudge is simple—keep it in an airtight container to preserve its freshness. For longer shelf life, store it in the refrigerator, where it will remain firm and flavorful for up to two weeks. If you prefer a softer texture, you can store it at room temperature for a few days, ensuring it’s kept in a cool, dry place.
When it comes to serving, fudge is incredibly versatile. Offer it as a sweet snack, pair it with coffee for a delightful dessert, or package it beautifully as a thoughtful homemade gift for holidays or special occasions. However you serve it, your easy fudge is sure to be a hit!
Step 7 – Common Fudge-Making Mistakes to Avoid
Even though this easy fudge recipe is beginner-friendly, a few common mistakes can affect the final result. The first pitfall to watch out for is overheating the chocolate. Whether you’re using a microwave or stovetop, heating the chocolate too much or too quickly can cause it to scorch or seize, leading to a grainy or lumpy texture. Always use low heat and stir frequently to ensure a smooth melt.
Another issue is using the wrong proportion of ingredients. Adding too much sugar can make the fudge overly sweet and gritty, while too much butter may prevent it from setting properly. Follow the recipe measurements closely for a creamy, balanced texture.
Finally, be patient when it comes to setting the fudge. Not allowing enough time for the fudge to cool and firm up can result in a soft, sticky consistency that’s hard to cut. Let it set completely—preferably in the refrigerator for faster results—before slicing into squares. By avoiding these mistakes, you’ll ensure your fudge turns out perfectly every time!

FAQ: Easy Fudge Recipe
Can I make fudge without a microwave?
Absolutely! If you don’t have a microwave, you can melt the ingredients over low heat on the stovetop. Use a heavy-bottomed saucepan and stir constantly to prevent the chocolate from burning.
How long does fudge take to set?
Fudge typically takes 1-2 hours to set in the refrigerator. If you’re setting it at room temperature, it might take 3-4 hours or longer, depending on the room’s temperature.
Is it possible to substitute dark chocolate for milk chocolate?
Yes! Dark chocolate works perfectly and provides a richer, less sweet flavor. You can also experiment with white chocolate for a completely different taste.
How do I prevent my fudge from being too soft?
Make sure to follow the recipe proportions exactly and let the fudge set fully before cutting. If it’s still too soft, you can refrigerate it longer to firm it up.
How should I store leftover fudge?
Store your fudge in an airtight container. It will last up to two weeks in the refrigerator or up to a week at room temperature in a cool, dry place.
Can I freeze fudge for later?
Yes, fudge freezes well! Wrap the fudge securely in plastic wrap and place it in an airtight container. It can be stored in the freezer for up to 3 months. Thaw it in the refrigerator before serving.
What are some easy toppings or mix-ins for fudge?
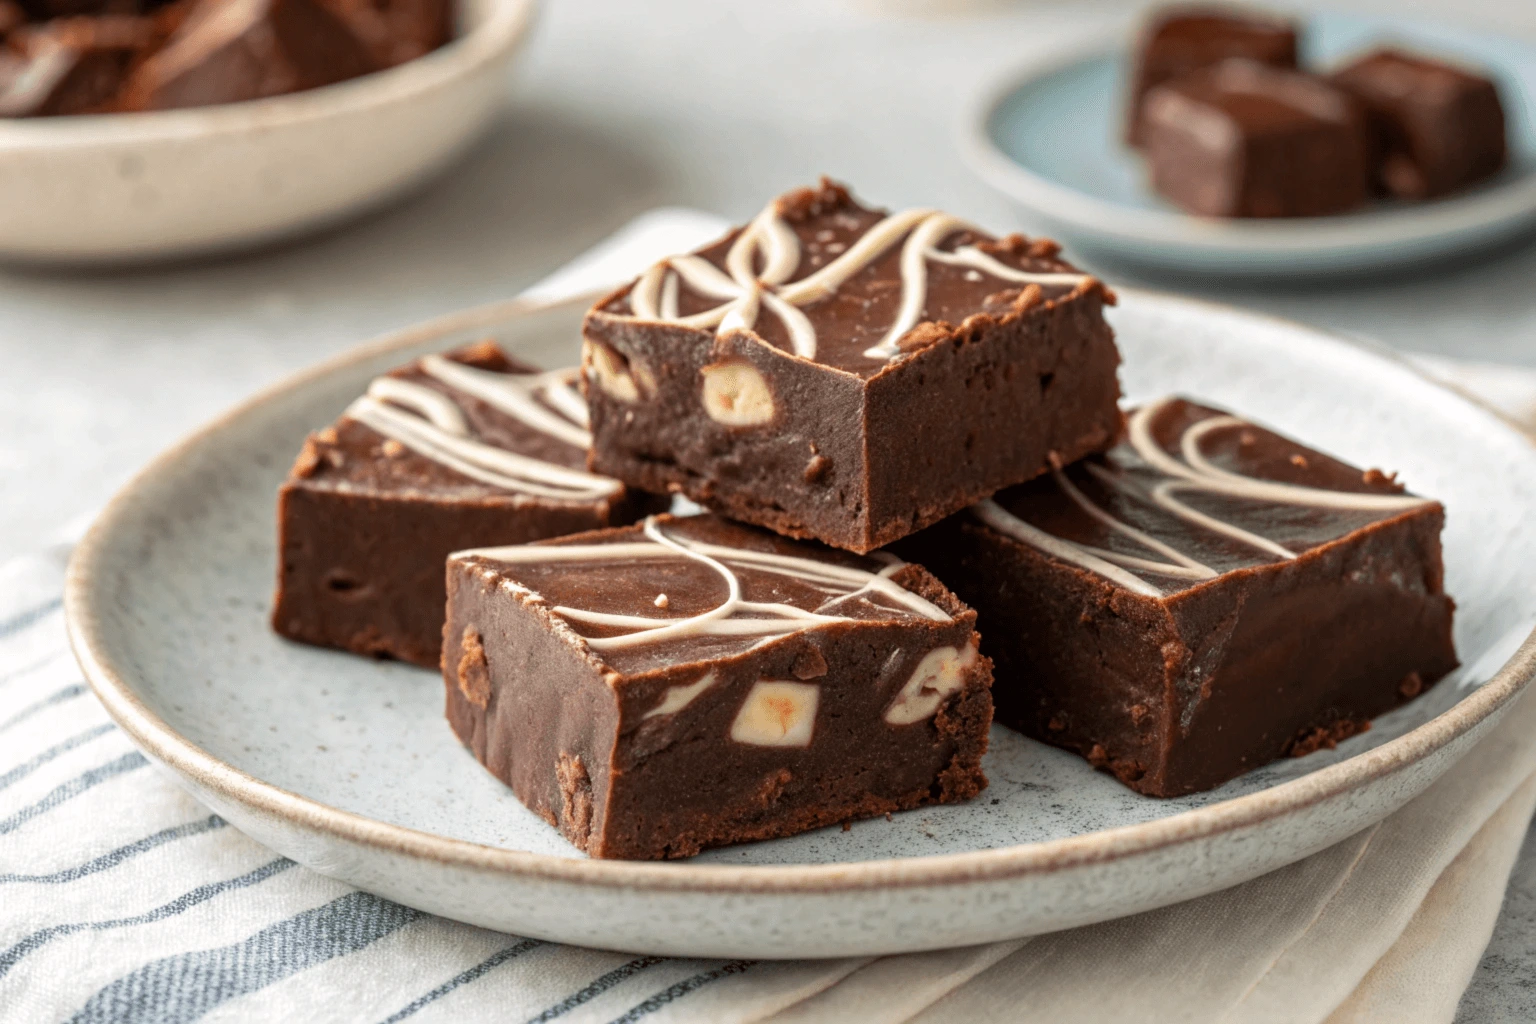
You can mix in chopped nuts, marshmallows, dried fruits, or crushed cookies. For toppings, try sprinkles, sea salt, or drizzle melted caramel or white chocolate on top.
What should I do if my fudge turns out grainy?
Grainy fudge is often a result of overheating the chocolate or not stirring properly. To fix this, gently reheat the mixture and stir until smooth, then reset it in a lined dish.
Is this recipe gluten-free?
Most fudge recipes are naturally gluten-free, but always check the labels of your ingredients (especially chocolate and flavorings) to ensure they’re certified gluten-free.
Can I make vegan fudge?
Yes! Use dairy-free chocolate and substitute condensed milk with a vegan alternative, like coconut condensed milk, for a delicious plant-based fudge.
Conclusion
Making fudge at home has never been easier! This simple recipe combines just a few basic ingredients with straightforward steps to create a rich, creamy treat that’s perfect for any occasion. Whether you’re a beginner or a seasoned baker, the versatility of this recipe allows you to experiment with flavors, textures, and decorations to suit your taste. From classic chocolate to festive holiday variations, the possibilities are endless.
We encourage you to give this easy fudge recipe a try and have fun adding your own personal twist! Don’t forget to share your creations with family and friends—they’ll surely appreciate the effort and love behind a homemade treat. If you have any questions or want to share your feedback, leave a comment below. We’d love to hear how your fudge turned out!


2 thoughts on “How to Make Easy Fudge: A Simple Recipe for Beginners”
Comments are closed.